01 / CONTAINER
Give them room
Use a smooth-sided plastic bin or tray with a secure, ventilated lid. Keep it out of direct sun and away from areas that overheat.
A simple, practical guide to setting up a colony, keeping it healthy, and understanding what happens from tiny egg to darkling beetle.
Build your first colony ↗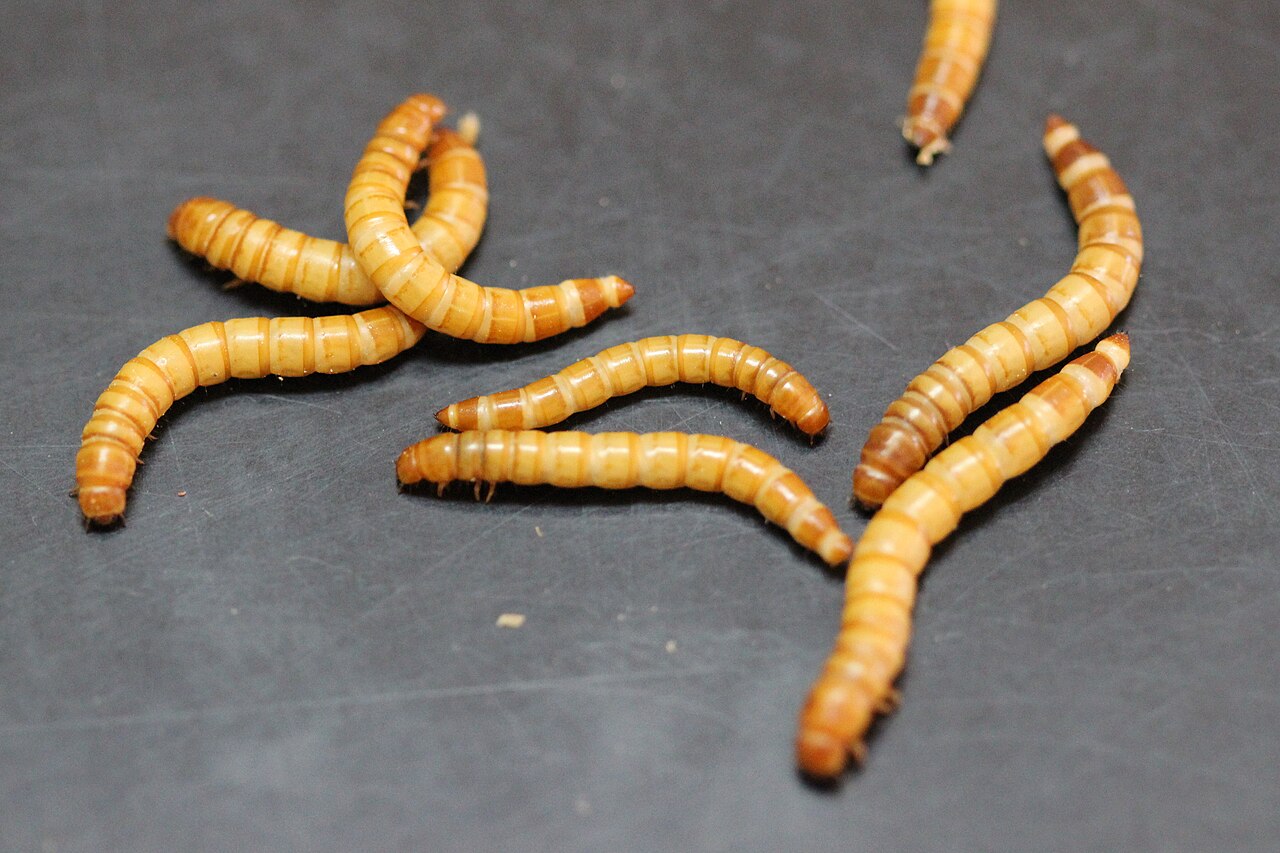
You don't need an elaborate farm. A ventilated container, dry grain-based bedding, and small pieces of produce provide a straightforward starting point.
Use a smooth-sided plastic bin or tray with a secure, ventilated lid. Keep it out of direct sun and away from areas that overheat.
Put a layer of wheat bran or oats in the container. Mealworms live in it and eat it. Replenish when it becomes depleted or heavily soiled.
Add a piece of carrot or potato for moisture. Replace it before it spoils; remove anything moldy promptly. Avoid open water dishes and wet bedding.
A mealworm is the larval stage of the darkling beetle Tenebrio molitor. Growth speed changes with temperature, food, and other conditions, so expect variation.
Small eggs begin the next generation.
The familiar mealworm grows and molts.
A pale, mostly still stage before adulthood.
Adults mature, mate, and lay eggs.
A steady routine matters more than a complicated setup. Start with one colony and adjust as you learn how it behaves in your home.
No. Small pieces of carrot, potato, or similar produce can supply moisture. Remove leftovers before they rot and keep the bedding dry.
A pale, soft-looking larva may have just molted. Its outer covering darkens as it hardens. A pupa looks different: it is curled and does not crawl like a larva.
Development varies with temperature, available food, moisture, and crowding. Check for stale substrate and spoiled produce, and avoid extremes of heat and cold.
It is useful when breeding: a separate pupa tray makes it easier to move emerging beetles into a breeder container and manage generations. A simple mixed colony can still be a starting point.
Setup walkthroughs, colony updates, and practical care demonstrations.